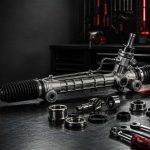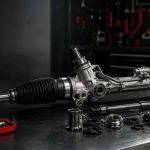
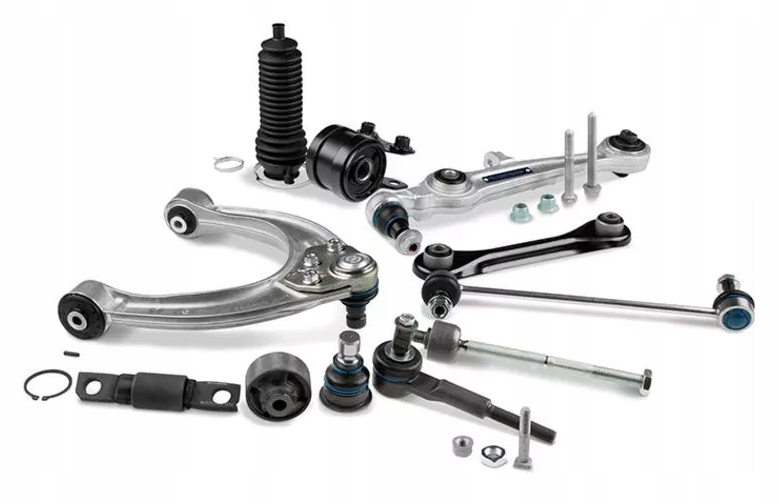
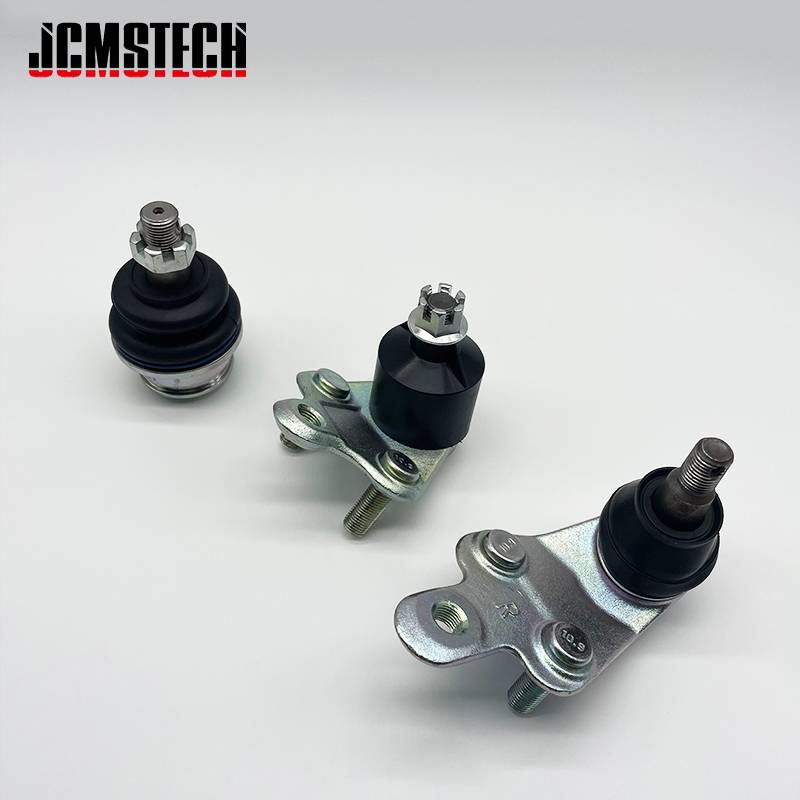
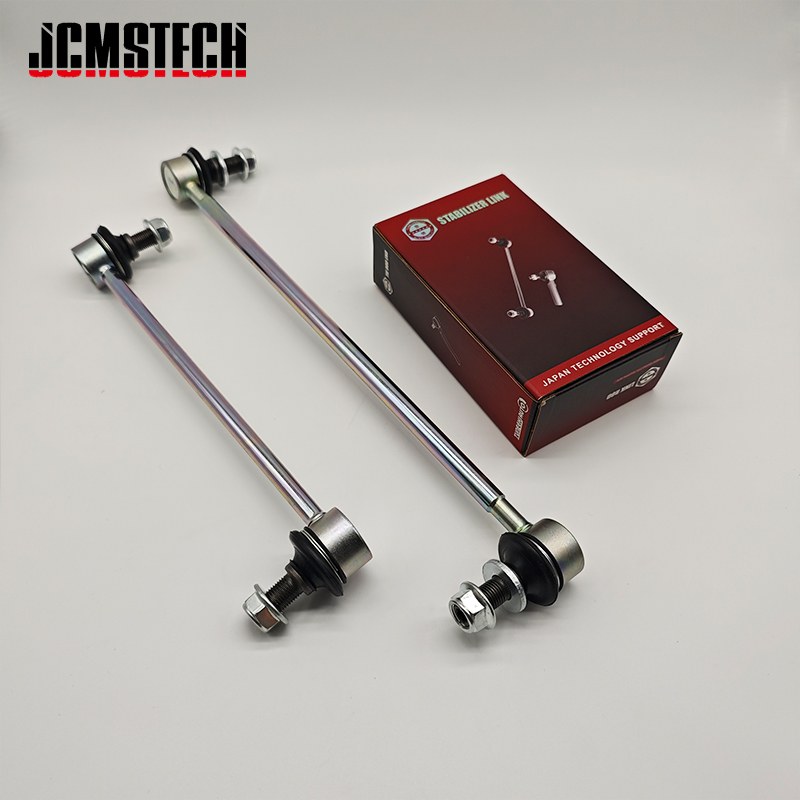
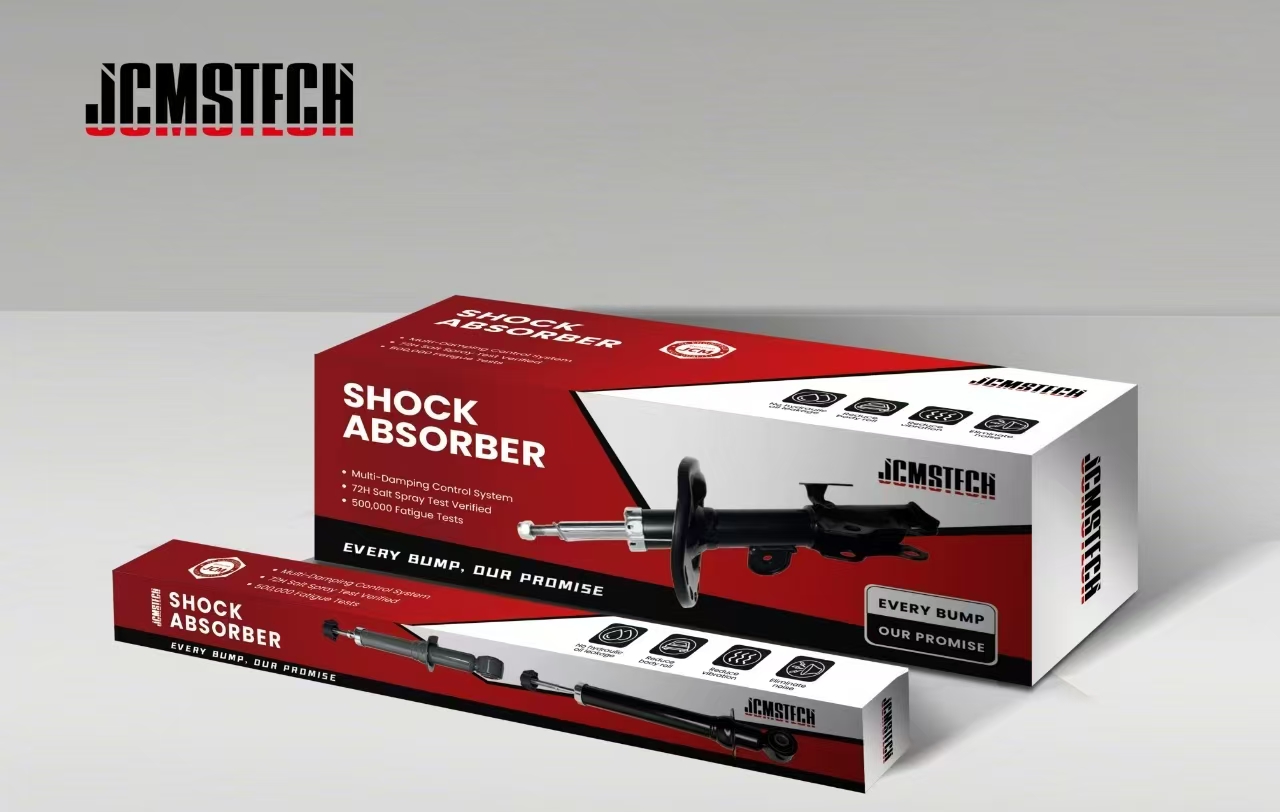
Suspension and Steering Parts are core components of a car chassis, responsible for vehicle stability, handling, and ride comfort.
Suspension vs Steering: How They Work Together
Suspension and steering are two inseparable systems that work together to play a significant role in the driving process of a car. Suspension systems absorb shocks, support vehicle weight, and keep tires firmly on the road. Steering systems enable directional control and safe maneuvering.
Though they are separate systems, they interact closely. For example, a loose ball joint (suspension) can lead to steering vibration, and steering misalignment can cause uneven tire wear.
Key Suspension Parts Explained
Control Arms
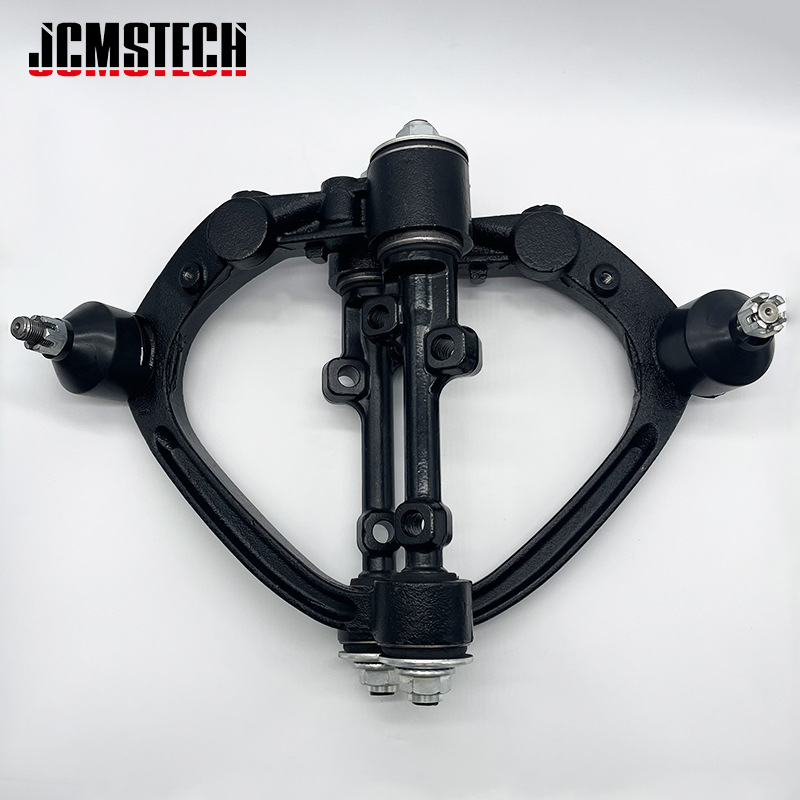
Control arms are critical suspension components that connect the wheel hub to the vehicle frame. They pivot up and down with the movement of the suspension while keeping the wheels aligned. When bushings wear out or the control arm itself bends—often due to pothole impacts or off-road driving—the result is vague steering, poor alignment retention, and abnormal tire wear. Control arms typically contain one or more rubber bushings and a ball joint. While some arms allow separate replacement, others (especially aluminum units) require full assembly changes. Confirm this when quoting to clients. Installer Tip: When replacing control arms, Installation procedures and torque requirements are vehicle-specific. Follow the applicable service manual or verified manufacturer instructions.
Ball Joints
Ball joints function like the human hip socket, allowing the control arm to pivot vertically while maintaining lateral control. These are critical for steering and suspension movement coordination.
Common failure signs include knocking noises when going over bumps or during turns, uneven tire wear, and a wandering steering feel. evere ball-joint wear can affect steering and suspension control. If looseness or damage is suspected, arrange qualified inspection before continued use.
Shop Advice: Always verify if the ball joint is integrated or detachable when sourcing replacement arms. Greaseable types tend to have longer service life in off-road applications.
Stabilizer Links (Sway Bar Links)
Stabilizer links, also known as sway bar links, are key to reducing body roll during turns. They connect the sway bar (anti-roll bar) to the control arm or strut and help the suspension on both sides of the car move together, increasing stability.
In real driving scenarios—especially on winding roads or during sudden maneuvers—worn stabilizer links result in noticeable body sway or clunking sounds when driving over bumps. These symptoms often mislead car owners to suspect shocks or ball joints.
It’s critical to inspect the rubber bushings or ball sockets at each end of the link. Once cracked or dry, the link becomes ineffective. In regions with snow or salted roads, metal corrosion may also cause premature failure.
Pro Tip for Installers: Always replace sway bar links in pairs (left and right) and torque them with the suspension loaded to avoid preloading. For trade customers, confirm whether the part includes pre-installed bushings or hardware.
Shock Absorbers

Shock absorbers and struts are designed to dampen the rebound of the suspension springs and maintain tire contact with the road. They also control excessive bouncing and contribute to ride comfort and safety.
Symptoms of worn shocks include fluid leakage, excessive nose-diving under braking, and increased stopping distance. While struts often include a coil spring and mount, shocks are standalone dampers.
Maintenance Tip: Replacement is typically due every 80,000–100,000 km under normal driving. For off-road or heavy load applications, earlier replacement is often necessary.
Key Steering Parts Breakdown (Expanded)
Rack End
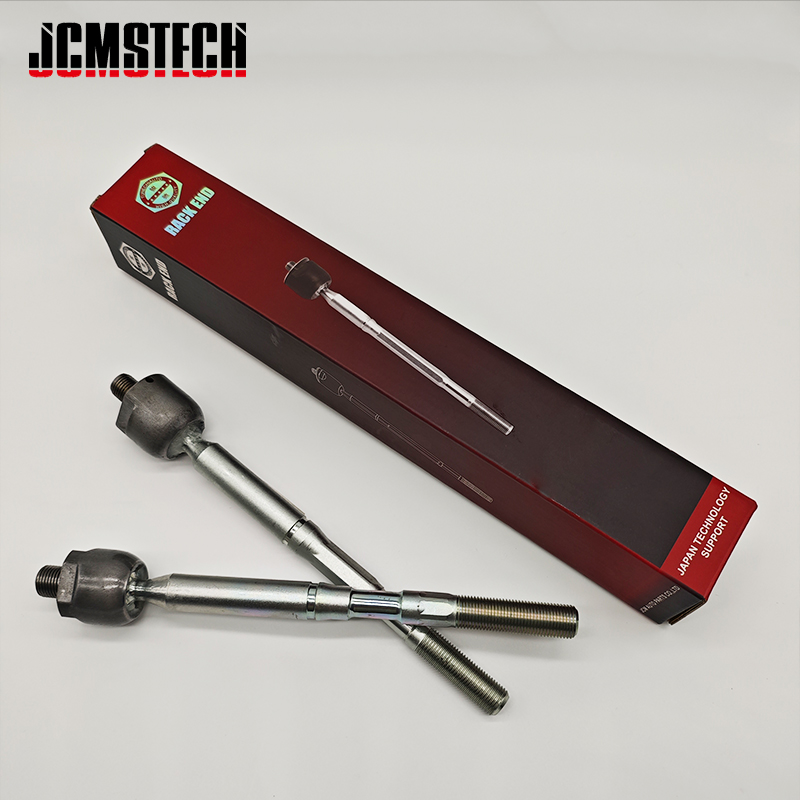
Also known as the inner tie rod, the rack end connects the steering rack to the outer tie rod and transmits turning motion to the wheels. In high-mileage vehicles or those regularly driven on rough terrain, rack ends tend to wear out, leading to vague steering feel or clunking noise during turns.
One common symptom is steering dead zone—when you move the steering wheel slightly, the wheels don’t react immediately. This makes highway driving unsafe. A quick test is to jack up the car and check for play by pushing/pulling the front wheels side-to-side while observing inner joint movement.
Installer Tip: Always inspect the rack boots. A cracked boot allows moisture and dirt in, causing rapid rack end failure even after replacement. Greasing before installation is highly recommended.
Tie Rod End
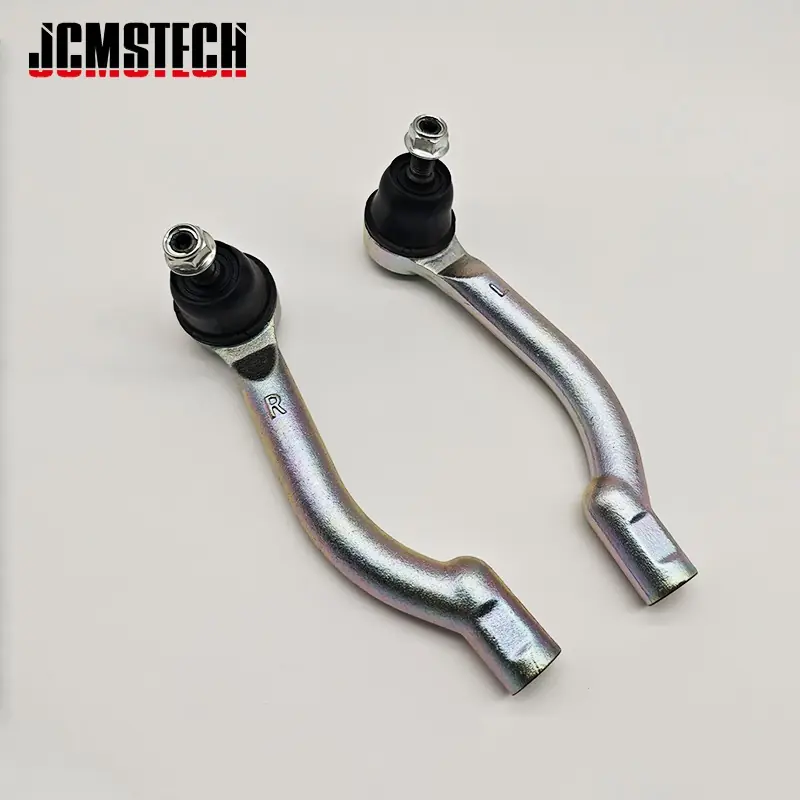
This outer component connects to the wheel knuckle and adjusts wheel alignment angles (toe-in/toe-out). When worn, the vehicle may drift left or right, or the front tires may show feathering patterns.
Many mechanics perform the “shake test”—grasping the wheel at 3 and 9 o’clock and feeling for play. Replacement requires wheel alignment afterward. Trade buyers should confirm if the part includes castle nuts and cotter pins, especially for export markets with strict safety norms.
Center Link
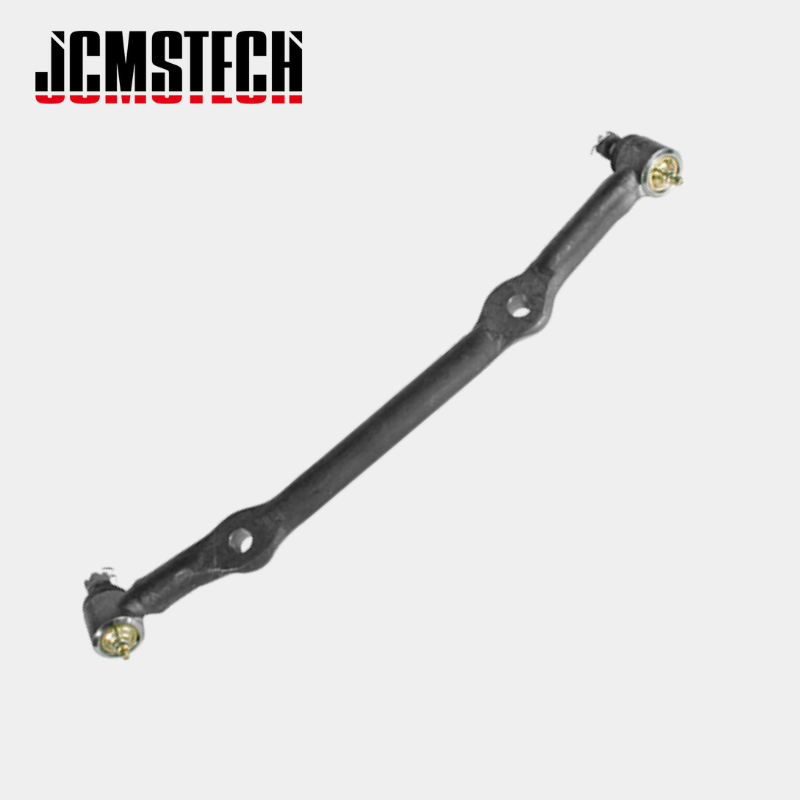
Common in older pickup trucks and SUVs, the center link synchronizes the left and right sides of the steering system. It connects the pitman arm and idler arm, acting as a rigid control bar.
Over time, bushings or sockets may loosen, especially if grease fittings are neglected. If your customer reports “wandering steering” or inconsistent road feedback, this is a key part to inspect.
Pitman Arm
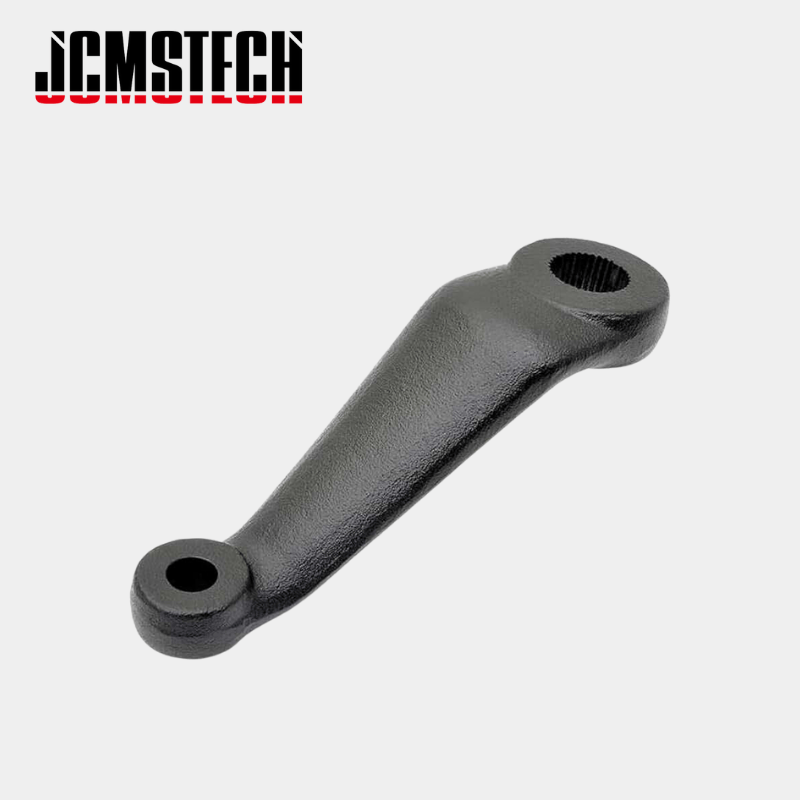
The pitman arm transfers steering gear movement to the center link. A worn pitman arm causes “play” in the steering and makes the vehicle harder to keep in a straight line, particularly at higher speeds.
Technical Note: Installation often requires a specific puller tool. Incorrect removal can damage the steering box output shaft. Always re-center the steering wheel after reinstallation.
Idler Arm
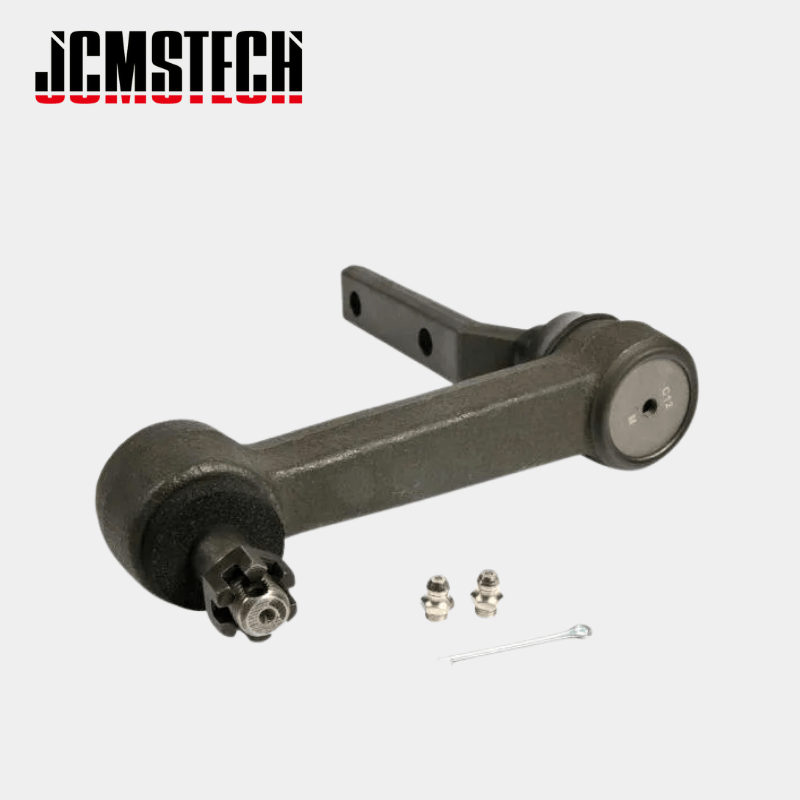
Working in tandem with the pitman arm, the idler arm supports the free end of the center link. It’s crucial for keeping the steering geometry stable under load.
Symptoms of failure include side-to-side “drifting” even on flat roads. Replacement is straightforward, but grease fitting location and service intervals vary. Fleet operators should inspect idler arms every 20,000 km.
Do Different Vehicles Use Different Suspension & Steering Setups?
Absolutely. Suspension and steering system design varies significantly across vehicle types due to intended usage, weight distribution, and drivetrain layout.
- Passenger Cars: Typically use MacPherson struts in the front and multi-link or torsion beam setups in the rear. Lightweight control arms and non-serviceable joints are common.
- Pickup Trucks / SUVs: Often equipped with double-wishbone suspension or solid axle setups, prioritizing load capacity and durability. Many still use pitman/idler arm configurations in the steering system.
- European vs American Models: Euro cars tend to use compact subframes and aluminum components, while US models emphasize ease of service and steel construction.
- 2WD vs 4WD: The presence of CV axles or differential housings significantly changes control arm geometry and bushing angles.
Trade Tip: When sourcing or quoting parts, always request the VIN or full OEM part number—guessing based on brand/model alone often leads to costly mismatches.
Essential Tools & Torque Specs for Installation
Suspension and steering components must be installed with the correct tools and torque to ensure both safety and performance. Improper torque is one of the top causes of premature failure—even for OEM parts.
- Torque Wrench: Required for final tightening of control arm bolts, tie rod ends, and stabilizer links. Example: Control arm-to-frame bolts often require 100–140 Nm.
- Ball Joint Separator: For removing old ball joints and tie rod ends without damaging surrounding components.
- Pitman Arm Puller: Essential for removing the pitman arm from the steering box shaft—common in truck steering systems.
- Grease Gun: If the new part includes a zerk fitting, lubrication is mandatory after installation.
Installer Note: Always tighten suspension bolts with the vehicle under load. Tightening when the wheels are hanging can cause bushing preload and early wear.
Common Failure Symptoms
| Symptom | Likely Cause | Checkpoints |
|---|---|---|
| Clunking | Ball joints / Control arms | Wiggle test, bushings |
| Pulling | Toe misalignment | 4-wheel alignment |
| Vibration | Loose tie rod ends | Check wheels, suspension |
| Heavy steering | Low power steering fluid | Check reservoir for bubbles |
How to Choose the Right Parts for Your Vehicle
Selecting the correct suspension and steering part isn’t just about knowing the vehicle make—it requires understanding build specs, regional differences, and driveline setup.
- Use the VIN (Vehicle Identification Number): This ensures exact production variant matching.
- Verify position: Left vs right, front vs rear—especially critical for control arms and stabilizer links.
- Check drivetrain: 2WD and 4WD models often differ in size, shape, or bushing angle.
- OEM vs Aftermarket: OEM ensures exact fit; aftermarket can reduce costs in bulk orders.
Tip: Share a sample, OEM reference number, and drawing when quoting. This improves speed and accuracy during sourcing.
Frequently Asked Questions (FAQ)
What are the symptoms of a failing tie rod end?
Common symptoms include uneven tire wear, a loose or shaky steering wheel, and clunking sounds when turning. A bad tie rod end may also cause poor alignment and vehicle drift.
How often should suspension parts be replaced?
Most suspension components like control arms and stabilizer links last between 80,000 to 100,000 km under normal conditions. Off-road or heavy-use vehicles may require earlier replacement.
What is the difference between a rack end and a tie rod end?
The rack end (inner tie rod) connects directly to the steering rack and transmits motion to the outer tie rod end, which then turns the wheel. Both are crucial for precise steering control.
Do 2WD and 4WD vehicles use the same suspension parts?
No. 4WD vehicles often require different control arm geometry and reinforced bushings to accommodate axle shafts and higher loads. Always verify fitment using the VIN or OEM number.
What torque settings are required for installing control arms?
Torque specifications vary by vehicle, but typical values range from 100 to 140 Nm for control arm-to-frame bolts. Always consult the service manual and tighten with the vehicle on the ground.